1. Applicable Scope
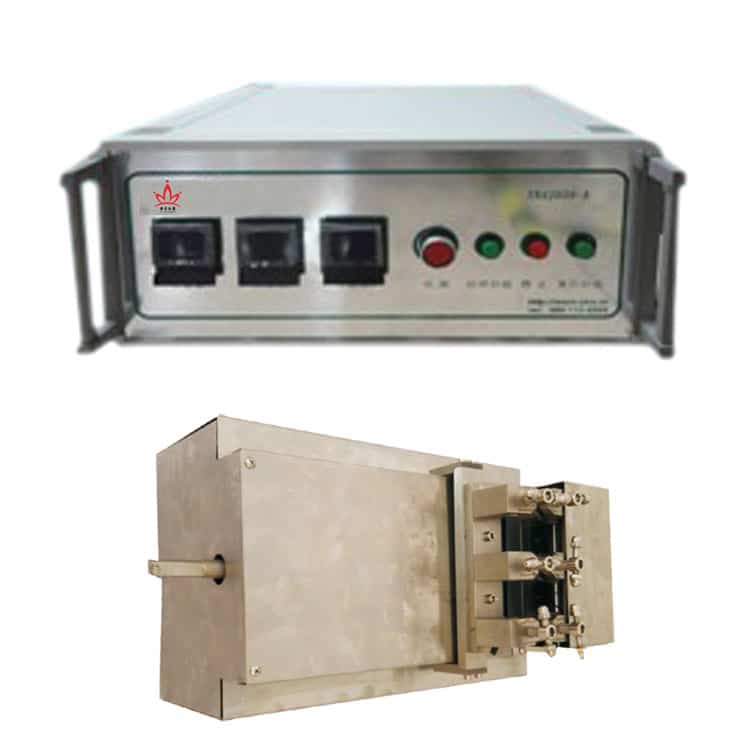
This procedure applies to the use and maintenance of AH38037 electric low temperature tensile test device.
2. Test steps
(1) Before operation, check all parts see if any of them isloosen or corroded.
(2) Rotate the clamp bolt to check whether the clamp is used smoothly. Turn the screw of the device to drive the sliding fixture to move left and right to check whether the movement of the fixture is obstructed.
(3) Place the tensile device in the low temperature test chamber, adjust the height of the tensile device, connect the rotating shaft to the connecting shaft (rear connecting shaft) installed on the side wall of the test box, and then connect the tensile device’s wire connector with the corresponding connection port of the electric control cabinet.
(4) Turn on the power switch behind the high and low temperature test chamber, start the LCD screen, switch to the low temperature tensile operation interface, press the start and reset buttons, there are positive and reverse. Activate the reset button to return the sliding fixture to the starting position of stretching.
(5) Open the low temperature test oven and adjust the distance between the clamps according to the size of the dumbbell piece. The factory setting is 22±0.5mm, and it can also be adjusted to 30mm±0.5mm. Use the start button to adjust the gap between the sliding fixture and the fixed fixture so that the sample can be clamped. Set the number of motor rotations on the controller (the motor has been set to the maximum speed control button at the factory, no special requirements, no need Reset) Then press the start button, slide the fixture to move, and stretch the dumbbell test piece.
(6) When all the samples are broken, press the stop button, the motor stops rotating. The LCD screen calculates the elongation of the three samples, and prints the experimental results through the high and low temperature box with a printer.
(7) Press the reset button to move the movable chuck back to its original position.
(8) After all the test pieces have been tested, stop the machine, cut off the power supply, open the low-temperature box, take out the stretching machine and place it in a ventilated and dry place.
3. Adjustment and Maintenance
(1) The stretching distance of the stretching speed has been adjusted and fixed before the instrument leaves the factory, and generally does not need to be moved.
(2) After the instrument is connected to the power supply, do not open the electronic installation area of the high and low temperature test chamber at will to avoid danger.
(3) After the tensile test is completed, the instrument should be taken out of the low temperature box, dried, placed in a ventilated place, and then put back into the chassis after drying to prevent rust.


